Tuesday, January 31, 2012

Master Bedroom- The impossible made possible

the space between


My husband and I lived with our master bedroom for almost 2 years and it never felt right. I tried more furniture, less furniture, new art, but it didn't work.

I think I immediately knew it wasn't right...but I just kinda tried to live with it. Finally we moved all our bedrooms in our house, so our bedroom not only changed actual rooms, but it also got completely made over

This was our old bedroom


It felt...too floral, not enough space, the walls never seemed the right color, the bedding although I liked it in the store...didn't feel like my style.


Then we moved into the guest room, and got white bedding
(ps the reason we are in the guest room is because the master isn't that much bigger, but the bigger closet is in the guest room)


I liked the green walls for a guest room, but not for the master. So I got to work!


And here is the finished product


We used the same metal tin tile that we had above our bed in our first room, but I painted it white and used some sophisticated finishing paint in pewter


I really love the look of it, and since I already had the tin tile and paint, it was free.


I got some opps paint from Home Depot, and this bar cart that I found on the side of the street and fixed it up with a chevronish pattern


Here is the before

 I painted the tops white and the rest blue. Then taped off the top.


I really love the chevron pattern, so it was an easy decision for me. Also because I didn't do an actual chevron pattern I didn't need to measure or make it difficult, which is always a plus for me.


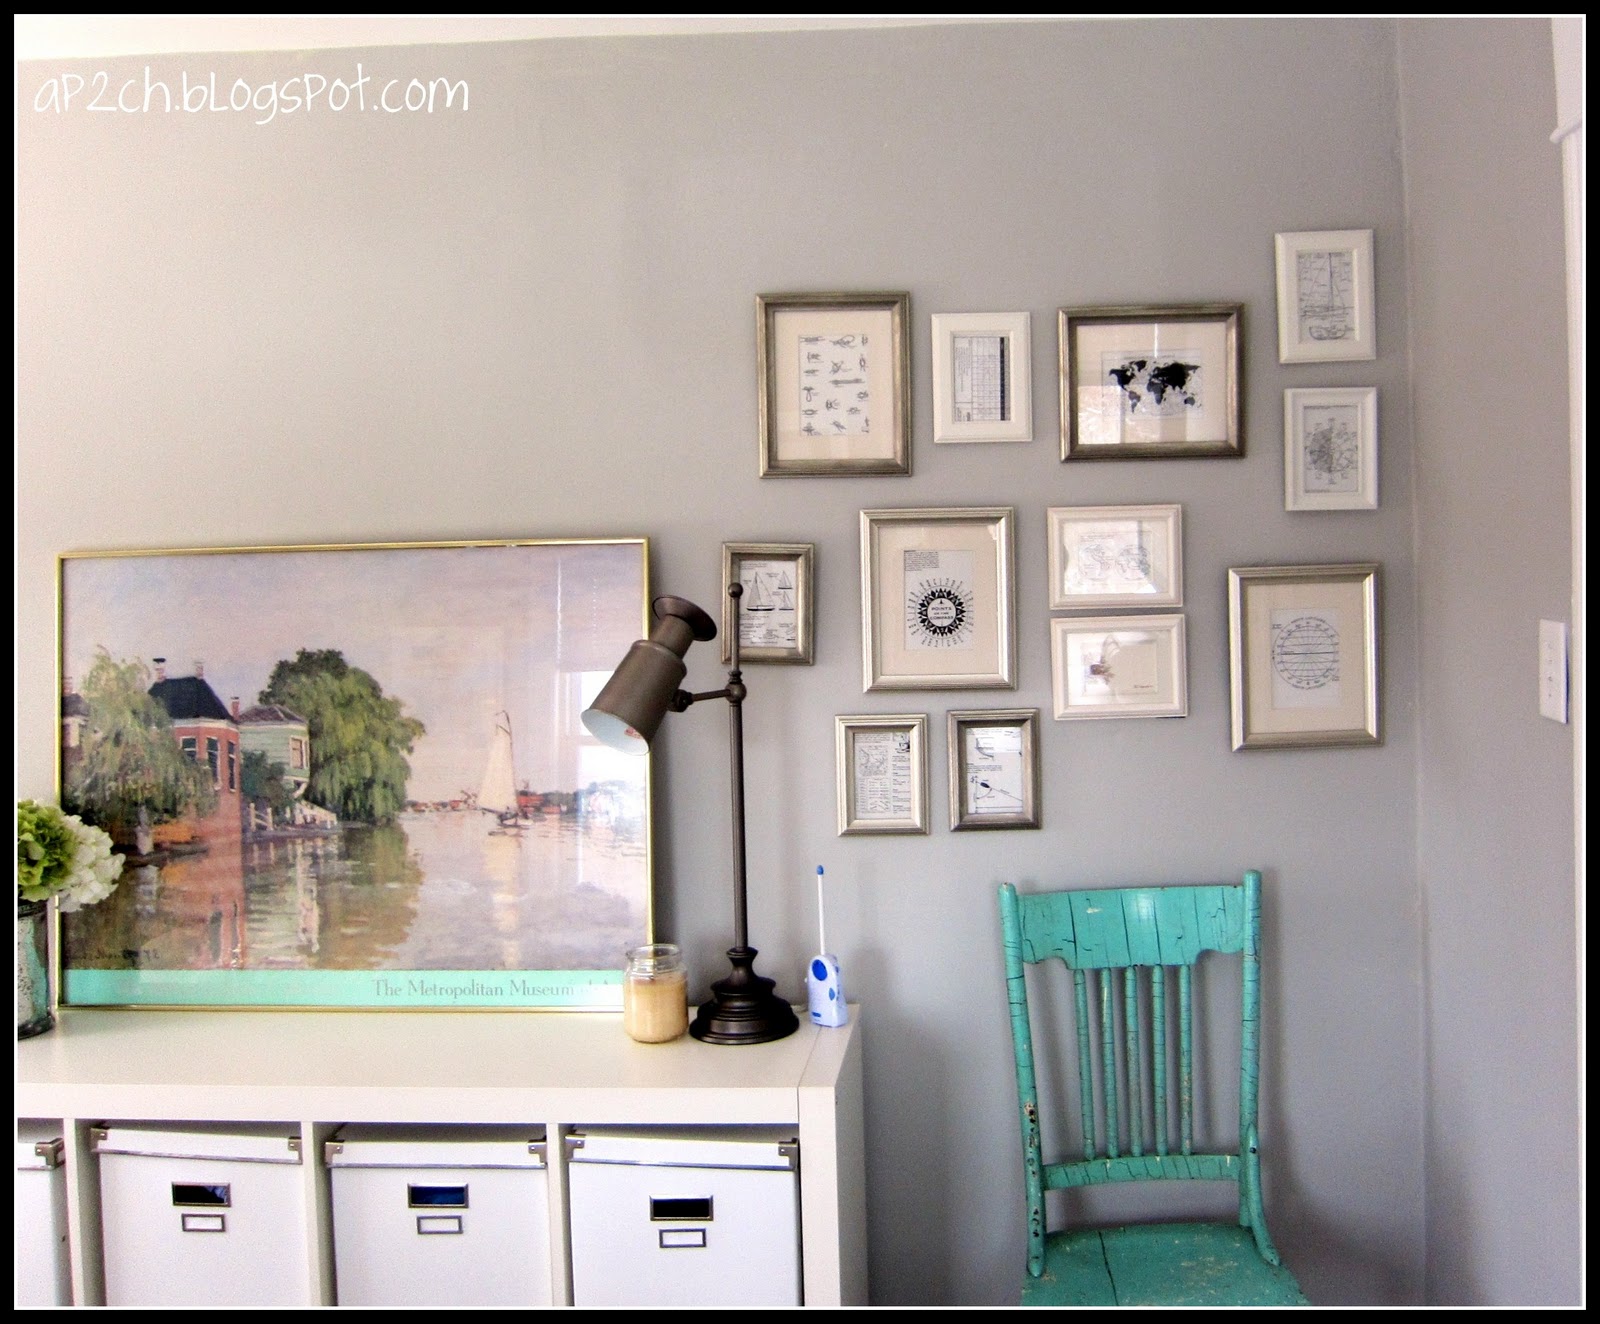
I took all the paint swatches and used them to make some free art


And again here is the final product.


And if you are looking for the full posts you can find them here


The breakdown
The paint & supplies- Nimbus Cloud by Martha Stewart $35
Bedding- Ikea $40 cover
Bedskirt- Target Shabby Chic Collection $35
Throw blanket- Ikea $20
Kiss Me Pillow- Home Goods $20
Grey & White stripe body pillow- Target-$10
Side Tables- I already owned just fixed them up
Opps paint- $7 but already owned
Tin Tile- Already owned the tile & paint
Mercury Glass Lamps- $70 for both TJ Max
All frames- Ikea & Walmart but already owned

All Together the room cost $230, we also had $105.00 left over from last years Christmas and we used that towards the makeover, so in total it was $125 makeover

Thank you so much for dropping by, and I hope if you are new here you'll follow me so we can get to know each other better!

Monday, January 30, 2012

Clean

Here are some links to posts about cleaning
 (most recent to least recent)

How to clean your frig


5 steps to a cleaner house

laundry tile decor

Organize

Here are some posts on organizing
(Recent posts to less recent posts)

form & function open storage


Project Gallery

DIY Project Gallery


How to clean your refrigerator

If you are like me, then you think that your refrigerator takes a long time to clean out, and its not fun, so you kind of just put it off. And then...more time goes by, and you know you have to do it, but you try to schedule it on your growing to do list, and it doesn't get done.

Don't let the pressure of perfection paralyze you.  Its better to do it even if its not perfect, at least it'll be better than it was before.

I would recommend cleaning out your refrigerator before you go grocery shopping, naturally I did the opposite. I took out all the items one shelf at a time, then cleaned the shelf and returned the items. Once it was all clean, I moved and re-organized. While I was taking things off the shelf I threw out whatever was expired.

I decided I really only wanted to spend 20-25 minutes, so I just rushed, and got it done. Its not perfect, I didn't take out all the shelves and wash them in the sink. I just rubbed them down with a soapy sponge and then dried it off. But its clean, organized,  and not perfect but that's OK with me.

Before


After


here's what the professionals say, they care a little bit more about perfection than I do.

How to Clean Your Refrigerator

Refrigerators need to be cleaned inside and out on a regular basis.
Although the recommended temperature of a refrigerator is 40°, bacteria and mold still grow and can make you sick if eaten. Contamination often spreads in the refrigerator and ruins other food.
Interiors of refrigerators have crevices where drips and spills can hide providing an environment for molds and bacteria to grow. Trouble spots are generally the bottom of or underneath a drawer, the hardware that holds the racks, the gasket around the door, etc.

Cleaning Solution:

  • 1/4 cup baking soda
  • 1 quart of warm water
Baking soda is a great sanitizer, brightener, and odor remover. You do not need to rinse off the baking soda and water solution unless you've used enough to leave a residue.

Unload The Refrigerator:

Lets get busy. Before you can start to clean, we've got to unload the refrigerator. Pull out a medium size waste basket, garbage can, cardboard box, whatever works for you.
We'll be checking the expiration dates on the food, and making a decision on whether we still need to have the 15 year old jar of tamarind paste- because you'll never be making "whatever that was" ever again.
So, put expired foods and any you won't be using again in the wastebasket. Place foods to keep on the counter. Group like food items together.
If you have highly perishable foods, frozen foods, etc, store in another refrigerator or in a cooler.
You'll need to be quick about it or you'll have a bigger mess on your hands then when you started.

Clean Shelves and Drawers:

Remove all shelves and drawers, and place them in the bathtub. Spray with a good household cleaner and sanitizer and allow to sit.
You may either use the baking soda cleaning solution or hot soapy water to wash down the inside of the refrigerator. If you use the soapy water mixture, rinse well and dry it off with a clean towel to remove all traces of soap.
Give the drawers and shelves a scrubbing with a stiff brush or plastic scrubby, rinse well, shake off excess water, and dry.

Wipe The Inside:

Wipe all interior surfaces of the refrigerator with a clean, damp rag. Be sure to include inside walls and door, and rubber gasket around the edge of the door.

Finishing Up:

Return the shelves and drawers to their proper location.
Reload the food. After having cleaned the inside of your refrigerator, be sure to wipe all jars, bottles, cans and other containers with a paper towel or clean cloth before putting them back.
Rinse and wipe fresh fruits and vegetables before replacing. Line hydrator drawers with paper towels for easier cleanup. A little preventative maintenance pays off in less food spoilage and allows the refrigerator to operate more efficiently .
The neat thing is by using a baking soda and water solution, your refrigerator has not been cleaned but deodorized too. If you keep spills wiped up, your refrigerator will stay sweet smelling too.
And you're done.

Keeping Odors at Bay:

  • Baking soda is a great deodorizer. Keep an open box in the refrigerator to keep it smelling fresh.
  • Tightly cover your left overs to keep odors from escaping.
  • Promptly discard expired foods.
  • Wipe up spills promptly, as this is the main culprit of bad odors in the refrigerator.
  • If you use refillable ice cube trays, be sure the ice is kept fresh.
  • Ice cubes will absorb refrigerator odors if not used or emptied frequently.
  • Before returning food to the refrigerator, wipe the sides and bottom to be sure there is no drippy stuff clinging to the container.
  • Reorganize and discard old food before you do your weekly shopping. Then you can put your perishables away immediately.


Thanks for stopping by!