Showing posts with label DIY. Show all posts

Friday, March 9, 2012

Nursery Makeover!

I am so happy to be finally showing all of you my daughters completed room. It took too long, it was hard work, I'm tired and I literally never want to paint again. All that being said, it was totally worth it!

I'm going to show pictures today, and then I'll go over all the details on Mondays post of where everything's from, and prices and paint colors and any details that I think you could be interested in.

Here are a few before pictures, in case you forget, or are new here.


And After


And side by side before & after


I hope you all liked it!

Thursday, March 8, 2012

Nursery Furniture Makeover

I'm a big fan of using old furniture, even in a baby's room, opposed to furniture designed for a baby. This piece of furniture I absolutely love the details and legs, and I know will be used in my home forever. Even though it was a handy me down, I really love it. Its been painted white, yellow, and green.


This piece of furniture I found on the side of the road. I added pink damask paper to the back, and pink knobs. I realized while I was repainting it, that I don't really like the top part, with the old fashion rungs. And even though this room is quite large, I realize the height doesn't really work.


And now the after! This was the changing table but I decided to move things around a bit. I painted it grey, and spray painted the hardware yellow. I let the rust color come through.


And I took off the top shelf part of this piece, and added the changing table pad, and new cover.


This crate storage I got at my local thrift store for $15. It was originally that super light non wood color? Do you know which one I mean, like not white but not wood? (cricket cricket) Well anyway I spray painted it dark grey.


So what do you think?


Come back tomorrow for the final reveal! yay I'm excited!

Thursday, February 16, 2012

Be Flexible in Design

I realized while I was doing my office makeover that I was challenged quite a few times. I made a plan, and then that plan didn't work, and I had to come up with new ideas right then and there.

Its important to look at design as flexible, if something doesn't work, then think of a new plan, or maybe a couple. I'm really good at visualizing what something is going to look like, but if you aren't good at that you can always try an online mood board. Or if the item is small you could always buy it, and return it if it doesn't work. Just check the stores return policy first.

Here are the random annoying things that happened while I designed my office, they are the same annoying things that I think made this project way better. 

I originally wanted to paint all white walls, and do grey stripes. I ran out of white paint, and with 120 year old walls, I was worried about how long it would take to measure out the stripes. I ended up painted the bottom grey.


 I ended up picking this bold rug that I definitely wouldn't have bought if I did the stripes. And even though I love stripes, I love that I can take this rug wherever we go.


Ikea didn't have the desk I was looking for...so I decided to just get creative and make one.


I wanted white shelves originally with my white walls with stripes. But then I didn't do the stripes and my white shelves were out of stock, I didn't stress. I picked the glossy gray, which ended up being better in this particular room.


Originally  I was trying to decided between a vintage desk and a more modern desk. I ended up deciding I could have 2 desks. I am so happy having 2 desks. I love each desk and the area around it so much, but I also love how they play off each other.


Originally I thought these shelves would look really cool with all globes on top. In the end I made it work with free accessories I had around the house. Maybe in time I'll add some globes, but I'm glad I didn't spend anymore money. I'm also glad I didn't try to shop all thrift stores in a 20 mile radius looking for globes. (ps this totally sounds like something I would do). The truth is now that I'm not looking for them, I'm sure they'll find me. 


Don't be discouraged when your plans don't work out, and don't be afraid to think of the next plan, sometimes its even better than your first.

If you'd like to see my whole Office Makeover & the details you can go here

Wednesday, February 15, 2012

Office Details


 Yesterday I wanted to show you my office in all its glory, but today I'll be going through the pictures one more time and telling you all the details.


I'm really excited about this dresser. It was white, but I painted it Nimbus Cloud by Martha Stewart, it was left over paint from our bedroom makeover. The lamp was in my attic with the chalkboard. I painted it grey on the frame and the blue from my desk. Origninally I was thinking of painting the dresser in that blue, but I wanted the desk to be special and I didnt want it to be too matchy matchy.


I thought this was a cute way to add in a little punch of green.
I got the basket, the moss rocks and the magnifying glass from my attic


I switched out the 2 skinny billy bookcases for this one, because I want the whole piece to stay together. So the 2 bookcases are now in the hallway.


I added this little basket which was in my attic, but everything I just took from the bookcases


I plan to do a little project with closepins, and for some reason I just like looking at them.


And here is this side of the room all together.


My blue desk. In behr distance. The walls are behr ultra pure white, and the bottom is an oops paint. The desk was $1 from habitat for humanity. The little silver tray on the desk was $8 from Ikea. And the white frame was also $5 from Ikea
 

The rug was $77 from Wayfair. 


The shelves are Ikea Lack glossy grey $17 each

All accessories I already owned, and found in my attic


I am particulary smitten with this area. The desk was $66 from Ikea, the frames were from Ikea for $5 each.


These metal boards I thought would just be perfect for organizing my ideas and inspiration. They were $12.50 each


This yard stick I found in my attic, its vintage and has marks on it, and I love it. I added it to the desk to make a little modern vintage baby. I put it on with scotch tape at first to see if I liked it, and then when I did just added mounting putty. I prefer not to hot glue it so I can change my mind, or change it up, but I love it.


And the light. I changed out our kitchen lights here, and I bought the wrong lights at Ikea, so you know me, I just made it work. And then I realized if I put one of those new old bulbs in it, it could look really cool by itself. Well I am just in love with it.


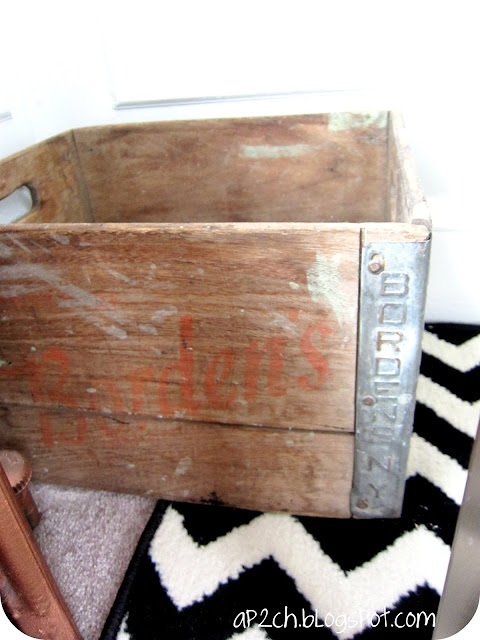
I had this old crate but I hadnt really found a home for it yet.


The little clock is so cute and vintage looking upclose it was from Ikea for like $6. And my 1,2,3 jars were $2 from Christmas Tree Shop


I love it. And the grand total for everything was $246